Thursday, September 2, 2010
The tools
Really quick post on what tools I use. I have a punch that I hammer the litle "dent" where I want to drill first, so the drill will seat as I start the hole. I use a cordless DeWalt drill, and good drill bits. If I need to doo a large 1/2" hole, I would pre drill a smaller one first. Make sure you keep the drill bit running level, not angle up or down as you drill. I had a tape measure, and pencil, and would measure the distance from say, the molding, down, so my holes / hooks would be the same height on the trailer and look even. The pencil would wipe off easy if I needed to move the mark. I also used masking tape to mark locations on the trailer for where I wanted something. We used a metal "L" some to make straight lines. Then, I have what I call a chick tool kit. I have a wonderful large, Craftsman wrench and socket set, but most of the time, my little "chick kit" does what I need. It has a small socket wrench, set of smaller sockets, driver tips of all types. (screw drivers that slip interchange in to one screw driver handle) The drivers include phillips, flat head, and the square heads that some of the screws on the camper needs. All in a small plastic case. I use this little kit a BUNCH. For drilling a lot of screws with a head that took a socket, could put it on the drill and things went quick.
Wednesday, September 1, 2010
More horse trailer prep
I forgot to mention in my Tackroom post, that for the most part, we use the trailer for our regular tackroom. We have to always trailer out to ride, so we rarely use the tackroom in the barn. Thus, I need to have everything I might need to ride, there in the trailer. So, now that I have that part of the trailer organization out of the way, let me share a little on our "horse area".
My old trailer was a single wall construction steel trailer. The support beams ran on the outside. I had rings welded on to attach the hay bags, The Hi-Ties had steel supports welded on where i attached them, as the trailer had an opening that ran the length of the trailer, right at the height the Hi-Ties needed to be. I did not need to find support beams to attach anything, as they were visible, or I just attached bucket holders etc. where ever I wanted, with bolts and nuts, rather than sheet metal screws.
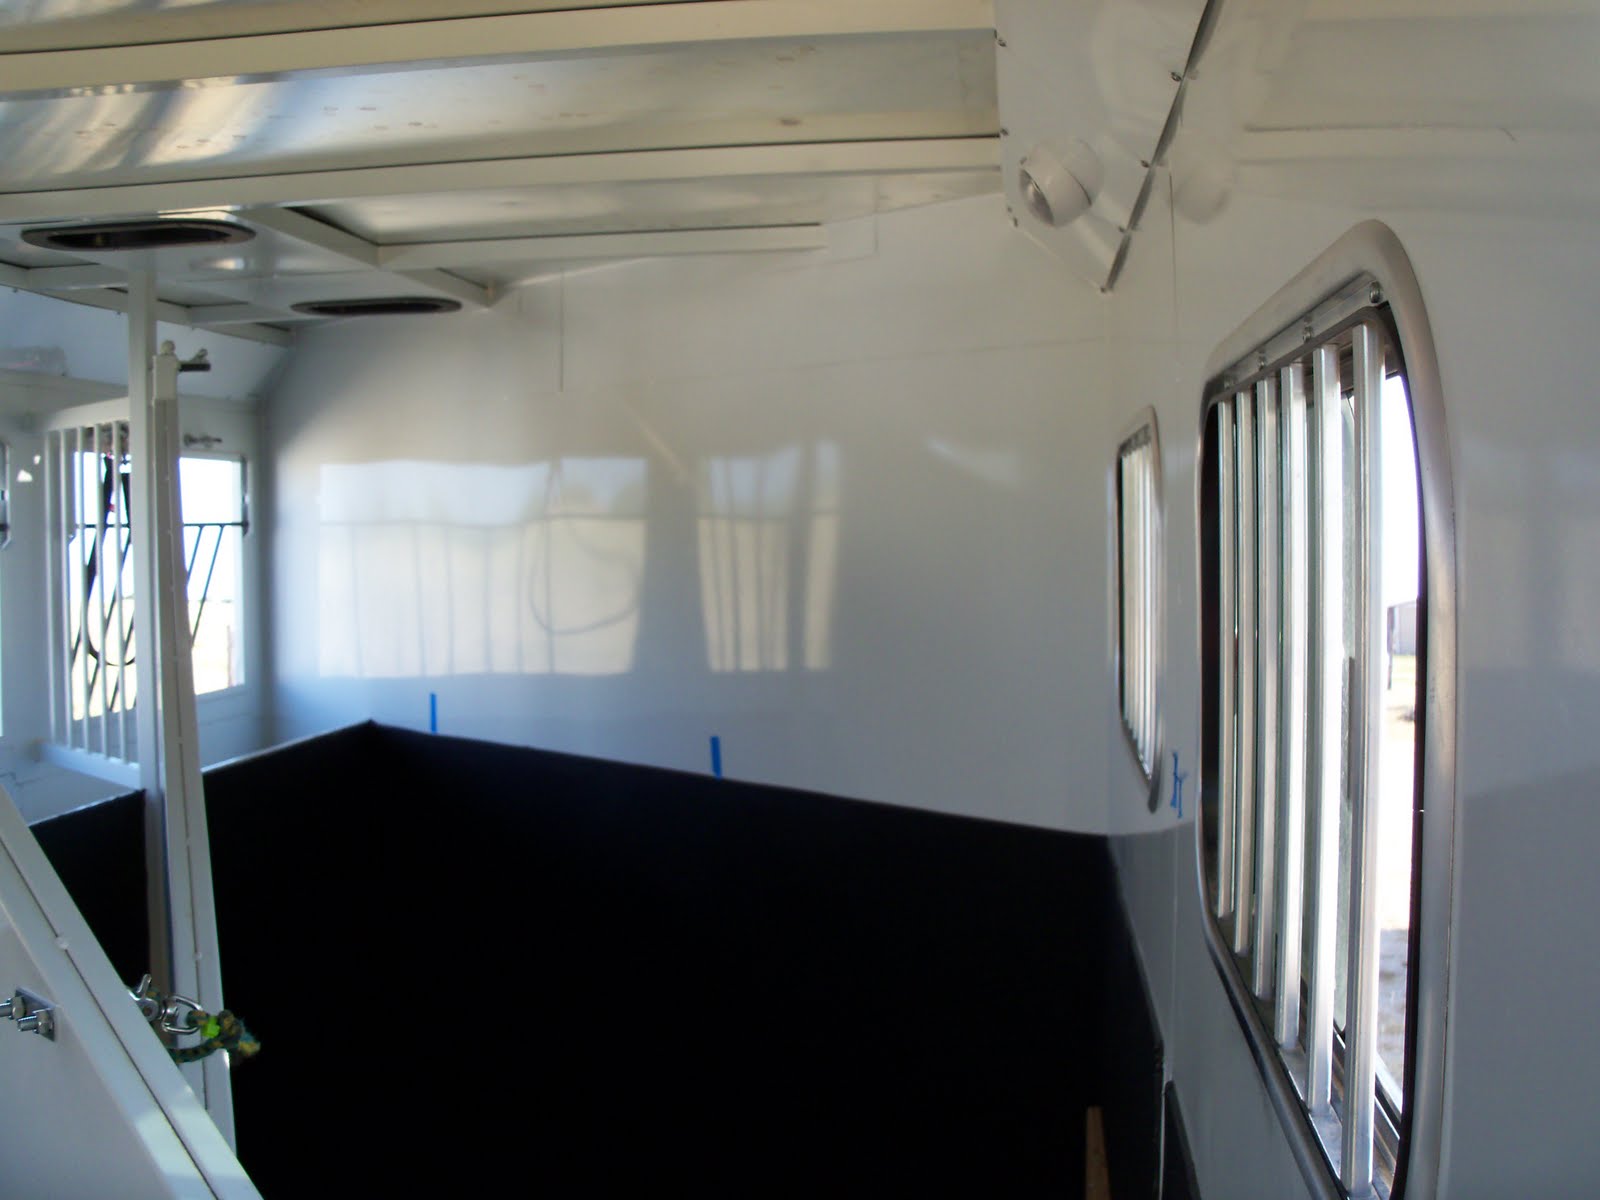
This trailer is triple wall construction. Outside steel wall, insulation, and then interior sheet metal wall. Support beams were not visible, and we needed to attach the Hi-Ties through the support beam to make them secure. Trails West was awesome to work with. I emailed them,and they sent me the blue-print of the trailer, showing me where the beams were. So, the first thing was to install the Hi-Tie on the passenger side of the trailer. That is the side I use the most when camping. I wanted this tie centered on the trailer. I don't want the horses to have the ability to look around the back of the trailer at the horse tied to the other side if possible. It just creates more issues. If they get used to NOT seeing the other horse, you can usually take one way from the trailer without the other horse ever knowing, and thus, they don't get upset when their friend leaves.
 The passenger side has slider windows that I needed to make sure the Hi-Tie was mounted high enough to not fold against them. The trailer was a clean slate, and we were about to start drilling 1/2" holes. We measured, we tapped along the wall, felt we had the support beam, and drilled the first hole, with a small drill bit. BINGO, we hit the beam right on. Finished drilling the larger holes, and attached the Hi-Tie to the trailer. They are really very easy to install. Took longer to find the beam.
 The Hi-Tie folds back above the window. The blue "pool noodle" helps to protect the trailer, Hi-Tie, and also makes it more visible when extended for riders going through camps, and also when I am packing to head home, I can see it easier from my mirror in case I got forgetful and in a hurry when it is time to leave. I also wanted to have a ring on the trailer up high, to run a high line to a tree if needed, or wanted at some camps. I was going to install a ring in a separate location, then I came up with an idea. Replace one of the big bolts on the Hi-Tie, with an Eye bolt. I can then run a line through it, yet the Hi-Tie would not be in the way.
 I think it even looks pretty good, and can't wait to give it a try. When used, the Hi-Tie will not be opened like in the picture, but be left folded against the trailer.
 Next was figuring out where to put the Hay Bag rings, and bucket holders. I had two bucket holders next to each other before, and the problem was that when I gave Hank a bucket of feed, or a wet mash, he drooled it all over, including into the other bucket, that had his clean water. So I decided this time, to separate the buckets. He also likes to dunk his hay in a water bucket, thus getting it all nasty and yucky. Sort of a horsey tea. So my hope is, he will choose one bucket to dunk, and leave the other one clean. After I give him his feed / mash, I then fill that bucket with water. which I hope will be the "dunker". I found some nice bucket holders that served me well for almost 10 years on the last trailer, that are made out of plastic. I picked up some more, and painted them white with a spray paint made for plastic. They look pretty right now. Again, we will see how it goes.


 Often when I have hauled just one or two horses, I like to give them more room than just the single stall of the trailer. The old trailer had dividers that would telescope closed, so I could secure them in the open position, but be out of the way. This trailer has solid dividers. I found that if I closed the SECOND divider, I could let the first one swing open next to it, and the horse in the front spot, would actually have a spot and a half to stand in. But I needed to secure that first divider, and also put something on it to prevent it from rubbing against the second divider as we went down the road.


My old trailer was a single wall construction steel trailer. The support beams ran on the outside. I had rings welded on to attach the hay bags, The Hi-Ties had steel supports welded on where i attached them, as the trailer had an opening that ran the length of the trailer, right at the height the Hi-Ties needed to be. I did not need to find support beams to attach anything, as they were visible, or I just attached bucket holders etc. where ever I wanted, with bolts and nuts, rather than sheet metal screws.
This trailer is triple wall construction. Outside steel wall, insulation, and then interior sheet metal wall. Support beams were not visible, and we needed to attach the Hi-Ties through the support beam to make them secure. Trails West was awesome to work with. I emailed them,and they sent me the blue-print of the trailer, showing me where the beams were. So, the first thing was to install the Hi-Tie on the passenger side of the trailer. That is the side I use the most when camping. I wanted this tie centered on the trailer. I don't want the horses to have the ability to look around the back of the trailer at the horse tied to the other side if possible. It just creates more issues. If they get used to NOT seeing the other horse, you can usually take one way from the trailer without the other horse ever knowing, and thus, they don't get upset when their friend leaves.


 I think it even looks pretty good, and can't wait to give it a try. When used, the Hi-Tie will not be opened like in the picture, but be left folded against the trailer.
 Next was figuring out where to put the Hay Bag rings, and bucket holders. I had two bucket holders next to each other before, and the problem was that when I gave Hank a bucket of feed, or a wet mash, he drooled it all over, including into the other bucket, that had his clean water. So I decided this time, to separate the buckets. He also likes to dunk his hay in a water bucket, thus getting it all nasty and yucky. Sort of a horsey tea. So my hope is, he will choose one bucket to dunk, and leave the other one clean. After I give him his feed / mash, I then fill that bucket with water. which I hope will be the "dunker". I found some nice bucket holders that served me well for almost 10 years on the last trailer, that are made out of plastic. I picked up some more, and painted them white with a spray paint made for plastic. They look pretty right now. Again, we will see how it goes.
These were installed with bolts all the way through the wall, washers and acorn nuts, so the if the horses were to rub them, they would not get hurt. We also decided to cover the ends of the bolts and the nuts that hold the Hi-Ties on, in the inside of the trailer. While I do not think the horses would ever get their heads up around the hardware, I decided that I'd go ahead and cover them.

I found some domed plastic door stops that would work perfect. This photos shows one covered, one not. I think along with covering the nut, it also makes it look nicer.


The rings to attach my hay bags took a little thinking. Last trailer had welded rings. A friend uses some bucket holders that have an O ring with a hook under it, and just hooks the ring on the hay bag on the hook. I almost got those, but kept wanting something smoother. I found these rings at the trailer store, and liked that they would lay flat when not in use. I painted them white, but the paint does not want to stick. If they work well, I may try to have them powder coated so they will stay white. I can also snap a bucket on if I wanted, attach the hay bags with snap, or even velcro. I will add one more to this side of the trailer, so I can hang two bags side by side for additional hay, or two types of hay. These lined up on the support beams, so were attached with sheet metal screws.
Here is a picture of the blanket rack inside the trailer. Also in that back corner, where many trailers have a rear tack area, will be where I add my horse water tank. Just have to decide the size / gallons I want. I have been looking at RV tanks, where they will make them any size, dimension you want. Even with a horse in that back stall, I have never had any of them swing over and get into the water tank, or anything else I may have stored in that area. The rake etc. have velcro also, wrapped to secure them to the wall and hook.
 Often when I have hauled just one or two horses, I like to give them more room than just the single stall of the trailer. The old trailer had dividers that would telescope closed, so I could secure them in the open position, but be out of the way. This trailer has solid dividers. I found that if I closed the SECOND divider, I could let the first one swing open next to it, and the horse in the front spot, would actually have a spot and a half to stand in. But I needed to secure that first divider, and also put something on it to prevent it from rubbing against the second divider as we went down the road.
I added some rings, and a simple snap and bungee to hold the divider in place. And where the divider rests against the other one??? I added more of those dome door stops.

And here are pictures of each side of the trailer, with everything installed. Now all I need are the horses.


Subscribe to:
Comments (Atom)